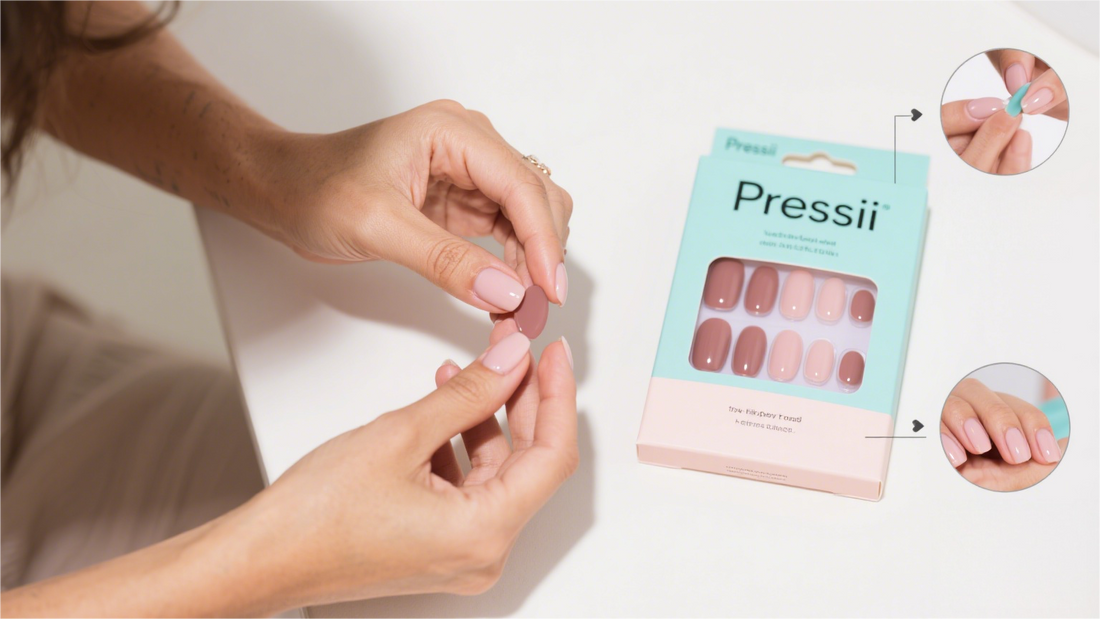
Beginner’s Guide to Salon-Like Press-On Nails at Home
Share
Want salon-worthy nails without the hassle or cost? Pressii press-on nails make it easy—even for newbies. Follow this step-by-step guide to get perfect results at home, with tips to steer clear of common slip-ups.
Step 1: Gather Your Tools
You don’t need a salon kit. Just grab:
• Your press-on nail set (pick a style you love—we’ve got everything from soft pastels to bold glitter)
• Cuticle oil and a cuticle pusher
• Pressii’s adhesive glue or sticky tabs (glue for longer wear, tabs for quick changes)
Pro tip: Don’t skimp on tools. Using dull files or low-quality glue is a common misstep that ruins results.

Step 2: Prep Your Nails (The Most Important Step!)
Many beginners rush through this—and regret it. Dirty or oily nails make press-ons pop off fast, so:
• Wash hands with soap and dry completely (moisture is enemy number one here).
• Trim your natural nails to a short, even length (no longer than the press-ons—long nails cause lifting).
• Use a buffer to gently rough up the surface—this helps the adhesive stick better. Skip this, and your press-ons won’t last.
• Push back cuticles with a pusher, then apply a drop of cuticle oil. Dry, ragged cuticles ruin the smooth look, so don’t skip moisturizing.

Step 3: Find the Perfect Fit
Grabbing the first size you see is a easy mistake. Pressii sets come with multiple sizes—take 30 seconds to test them:
• The right size covers your entire nail bed with no gaps at the sides or cuticles. Gaps let in dirt and loosen the bond.
• If a press-on is slightly too big, file the edges gently (but don’t overdo it—you’ll lose the design!).
• Too small? Swap it for a larger size. Ill-fitting nails look messy and fall off quickly.

Step 4: Apply Like a Pro
Glue mishaps are super common. Avoid these blunders:
• For glue: Dab a thin, even layer on the back of the press-on (not your nail). Too much oozes out; too little won’t hold. Wait 10 seconds for it to get tacky—rushing this step causes slipping.
• For sticky tabs: Peel the tab, stick it to the press-on, then peel the other side. Press firmly to smooth out air bubbles (bubbles make nails lift).
• Line up the press-on with your cuticle (leave a tiny gap—this looks more natural). Press down hard for 20 seconds, focusing on the edges—weak pressure here is a top reason for early peeling.

Step 5: Finish & Seal
Don’t ruin your hard work with these final slip-ups:
• File the tips of the press-ons to match your natural nail shape (round, square, or almond). Filing too aggressively can crack the press-ons, so go slow.
• Add a clear top coat to lock in the design and boost shine (this also hides small gaps!). Skip this, and the design may chip.
• Avoid water for 1 hour after applying. Washing dishes or showering too soon loosens the glue—patience pays off here.

Pro Tips for Long-Lasting Wear
• With glue, press-ons last 5–14 days; with tabs, 1–3 days.
• To reuse Pressii nails: Gently peel them off, wipe away old glue with alcohol, and store in the original case (tossing them in a drawer scratches the design).
• Never use nails as tools (opening cans, scratching labels)—this bends or breaks them.
Follow these steps, and your Pressii press-ons will look like you paid for a salon visit. Take your time, avoid the small mistakes, and enjoy switching up your style whenever you want.
Ready to try? Shop Pressii’s best-selling sets now—your next favorite manicure is just a click away.